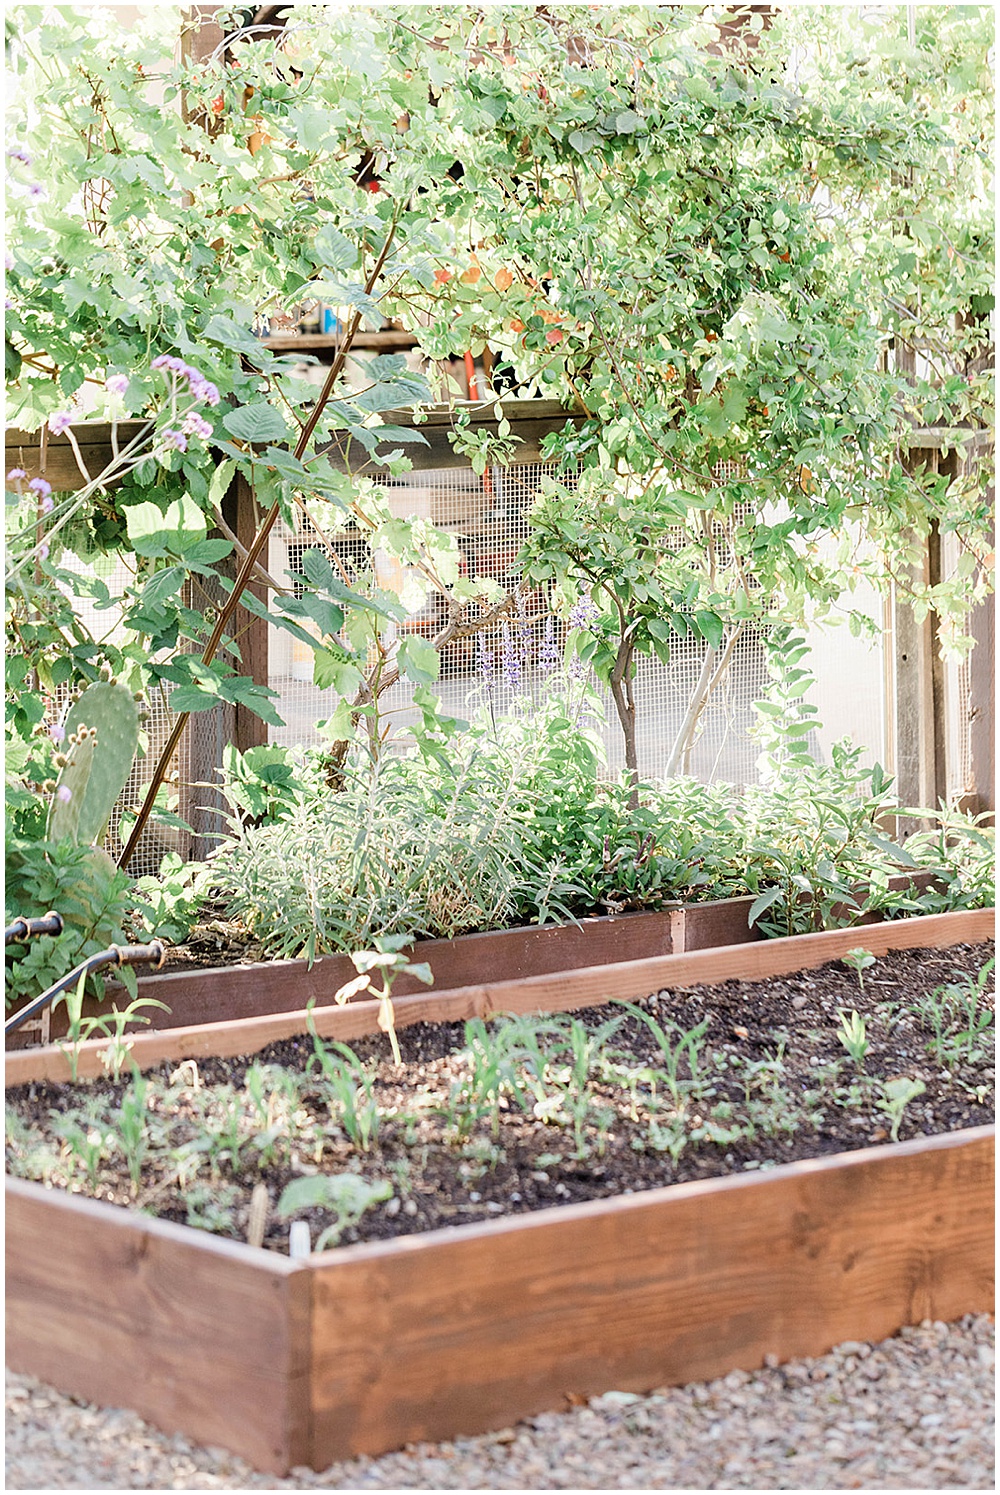
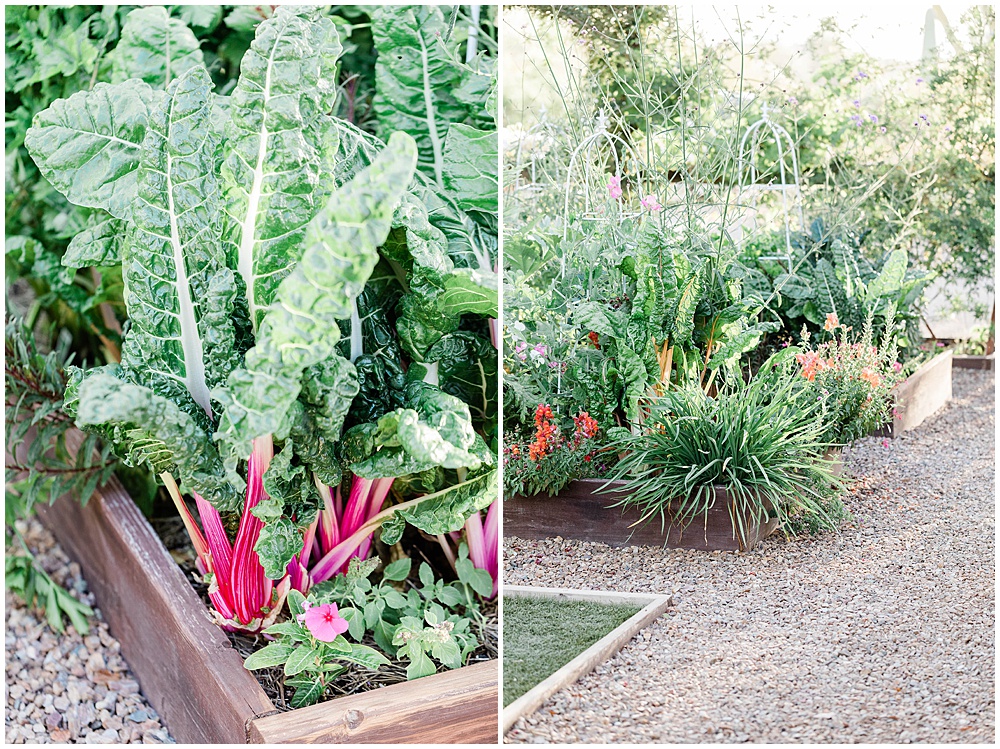
We Just Built Raised Garden Beds!
And it was surprisingly easy to build raised garden beds! I am so excited to finally have a backyard garden and things are already starting to grow. Now that I’ve done it I’m really surprised I didn’t do it earlier. I can’t wait for my first harvest and when the flowers start to bloom!
Why Choose Raised Garden Beds
- You can control the size and shape of your garden
- It’s easier to reach the plants
- You can control the drainage and soil conditions
And best of all, it doesn’t matter what type of soil you have—raised beds can be built on any surface. No soil preparation is necessary. I was worried about that because our backyard “landscaping” is mostly just rocks.
Make a plan
- Decide what you’d like to grow. The first thing you’ll need to think about is what you want to grow, as this will impact the size and construction of your garden bed. For example, if you want to grow a lot of tall plants that require deep soil, such as tomatoes or corn, you’ll need a bed that’s at least 12 inches tall. Smaller plants like herbs can be grown in beds that are only 6 inches tall. Keep this information in mind as we go along; we don’t want to build a bed that won’t meet your needs!
- Make sure your space is large enough. The next step is thinking about how much land you have available for gardening and how much of it should be designated for growing vegetables. If all goes well (and we hope it does!), vegetables tend to spread out and take up more space than people expect them to — so keep this in mind when deciding on dimensions!
- Find some rocks or wood to mark where the corners will be placed: This step isn’t totally necessary but does make things easier; once again just make sure everything stays level before moving forward with construction because if not then there could end up being problems later down the road
Measure the space and choose the bed size
The first thing you’ll need to decide is where the beds will be placed and how many you want to create. You can have one bed or a dozen—whatever suits the space you’re working with best. In our case, we needed six raised garden beds to fit the area we had available in our backyard. To determine where and how large of a bed you should construct, sketch an outline on a piece of paper. To do this, take measurements of the areas where your beds will be placed. Then divide that number by the desired width of each bed (3-4’ is optimal as it allows for easy access to reach into the bed). For example, let’s say you have 100 square feet available for planting vegetables and want no more than three feet between each bed—that means you can make about four 3’x10’ raised garden boxes (4*30=120).
Now that you have determined how many raised vegetable garden beds are feasible, it is time to choose their size based on your lifestyle and time commitment. We dove in headfirst to fill the whole side yard and have a kitchen salsa garden. But starting with one might be a better beginner option.
Gather the materials
You don’t need much to create a raised bed—just wood, soil and some plants.
Start by gathering your materials. You will need:
- Dimensional lumber (2x10s or 2x12s)
- Drill/driver
- 2-inch and 3-inch wood screws
- Soil (we used the pro-planting mix and top soil from Tank’s Green Stuff which is a local company that makes their own compost and delivers it 10/10 would recommend)
- Seeds or plants (we direct sowed heirloom seeds, but local nurseries will have seedlings already growing)
Cut the wood
This is an obvious step but it still needs to be said. You can buy the wood from a big box store and they will cut it for you! We wanted to do fancier seems with a miter saw so we opted to cut it ourselves. If I were going to make more I would do straight cuts and have them do it at the store. This is typically free, but sometimes they do charge like 25 cents a cut if you’re doing a lot of cuts.
You can build raised garden beds with almost any kind of wood. The most popular choices are cedar, redwood, and pressure-treated pine. Cedar and redwood last longer than pressure-treated pine because they have natural preservatives in their heartwood that resist rot and insects. But pressure-treated pine is less expensive than cedar or redwood so you may decide to save some money by using it instead. We chose pressure-treated pine to save money and I’ll let you know how they hold up over time.
All the lumber you need is typically available in 2×12 boards that come in 6-, 8-, 10-, 12-, foot lengths. The 1×12 boards are ideal because six of them laid sideways will give a bed high enough for growing deep-rooted plants like carrots and corn but not so high as to be really expensive to fill with soil.
Assemble the sides
The sides of the beds are assembled with wood screws. You may want to pre-drill the holes for the screws through the inside of the beds on both ends so that you don’t split the wood. The screws should be drilled into the center of each board from one side. If you’re worried about splitting end grain, feel free to start with three shorter screws and then add a longer screw after you know that all four corners are square.
Go slowly and make sure all your boards are flush with each other at both right angles (90°). We didn’t do this at first and had to start over because they were more like parallelograms. We used wood glue to secure them once we got them square and then screws to reinforce them.
Add additional boards if desired.
You can make the beds as deep as you want. To do this, simply add more boards to the tops of your four sides. Just be sure to fasten these new boards securely to your already-built box! We used wood glue and 2x2s because I didn’t want to have to bend over too much while gardening.
Finally, if you’re planning on growing tall plants such as tomatoes or peas, it’s a good idea to attach 2x2s (or similar) straight up into each corner. These will act as posts for strings and vines that can be attached to them via zip ties or long nails driven into the wood. We actually attached 2x2s for extra support and cut them down to the exact height of the bed. This was a mistake… and I wish we’d done it the way I’m suggesting.
Raised garden beds are great for growing all sorts of plants, including flowers and vegetables.
I’m excited to see everything we grow and will report back on how the garden beds hold up!


How to Build Raised Garden Beds
VIEW THE COMMENTS